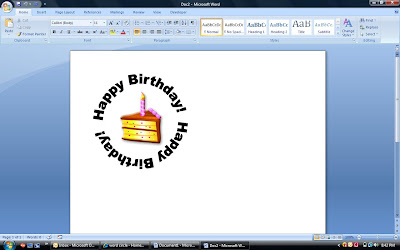
Have you ever wondered how people get those words in a circle shape around their stamped image? Well here is a quick tutorial using Microsoft Word. I inserted a piece of clip art in the center of mine but you would print the word circle and stamp your image in the center then cut with a circle cutter or punch. Or for you digital stamps you could insert that in the center.
To make words into semi-circles, circular, etc that you can print off and put on your card or print directly onto your paper, do the following:
1. Open a Word Document
2. Select Insert, then "picture", then "WordArt".
3. Word should open a menu to choose different "styles".
4. Select a 'style' and click ok.
5. Type the text you wish to view and click ok.
6. Word will then display the style and the words into the format chosen.
7. You can then drag and drop the text anywhere on your paper.
8. Left click on the words and a diagram box should appear around the words along with a text editor. In the middle of this text editor is an "A" - WordArt Shape. Select that and you will get more options.
9. To get a circle of the words that you typed.. click the circle.
10. Word will automatically take the words and loop them in a circle.
11. You should see some little black boxes in the corners and in the middle of the line around the words. If you take your mouse and put it over those boxes, you should get a directional arrow. Left click and hold your mouse down... dragging the arrow down the page to make the text box larger.
12. Play with this and have fun.
Thanks for stopping by!


3 comments:
I always wondered how to do that! Thanks for the tutorial!
Well now I'll have to give this a try!
I can't wait to try this! I've worked in Adobe programs that have this ability, not knowing I could do the same in my Word documents! Thanks for the tip.
Post a Comment
Thank you for taking time to leave a comment.